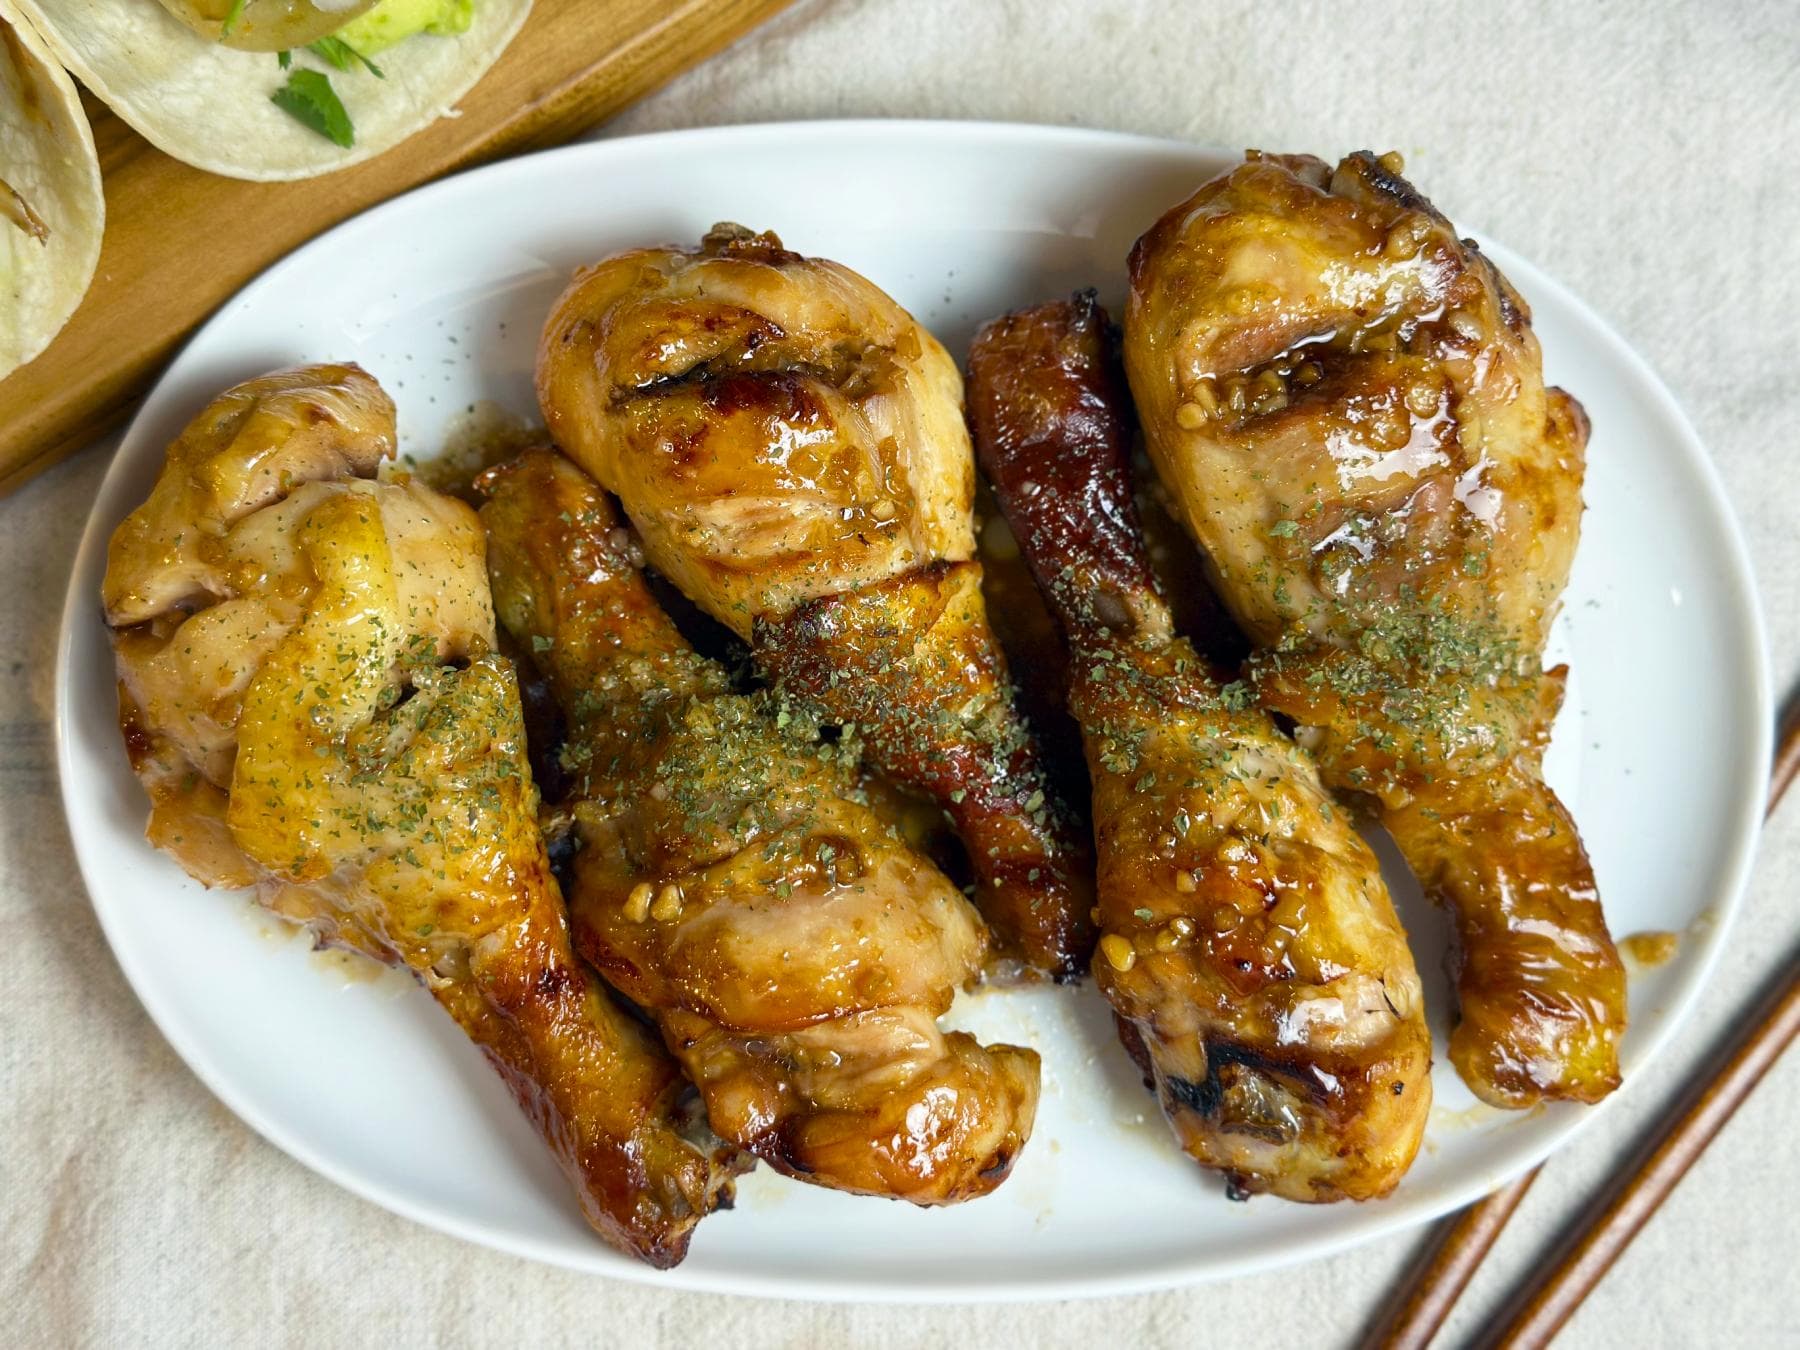
Soy Garlic Chicken in Air Fryer (Easy Recipe)
"Make savory soy garlic chicken in your air fryer with sticky sweet-savory glaze. Faster, healthier, and super addictive."
(5) default ratingBy Food and Spot, July 11, 2025
ingredients
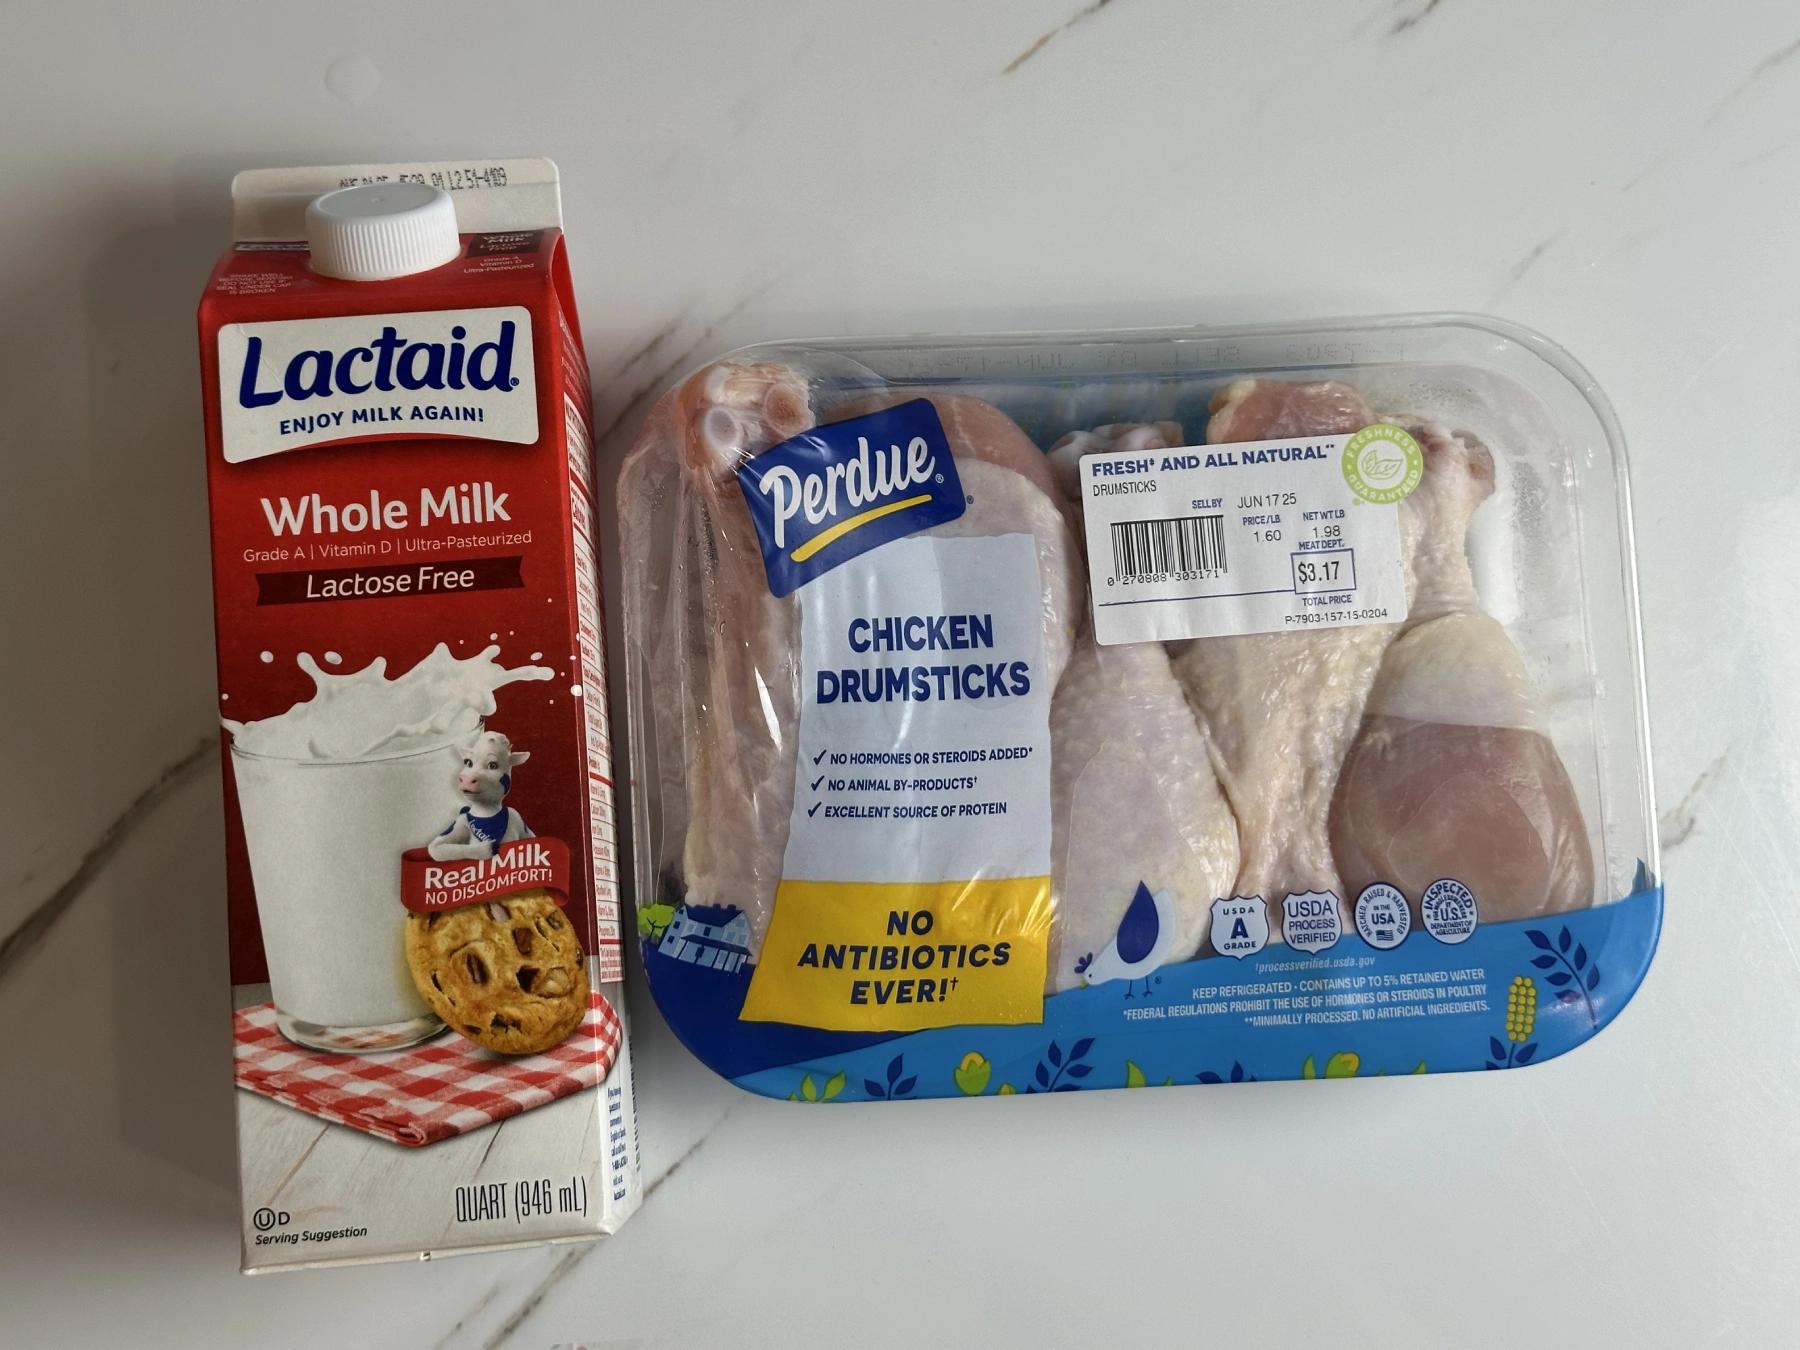
- 4–6 chicken drumsticks or thighs
- 1 cup milk
- Salt and pepper
- 4 tbsp soy sauce
- 2 tbsp honey
- 20g unsalted butter
- 2 tsp minced garlic
🍗 Air Fryer Soy Garlic Chicken Recipe (Crispy & Savory)
Cooking time : 30 mins (depend on the size of chicken)
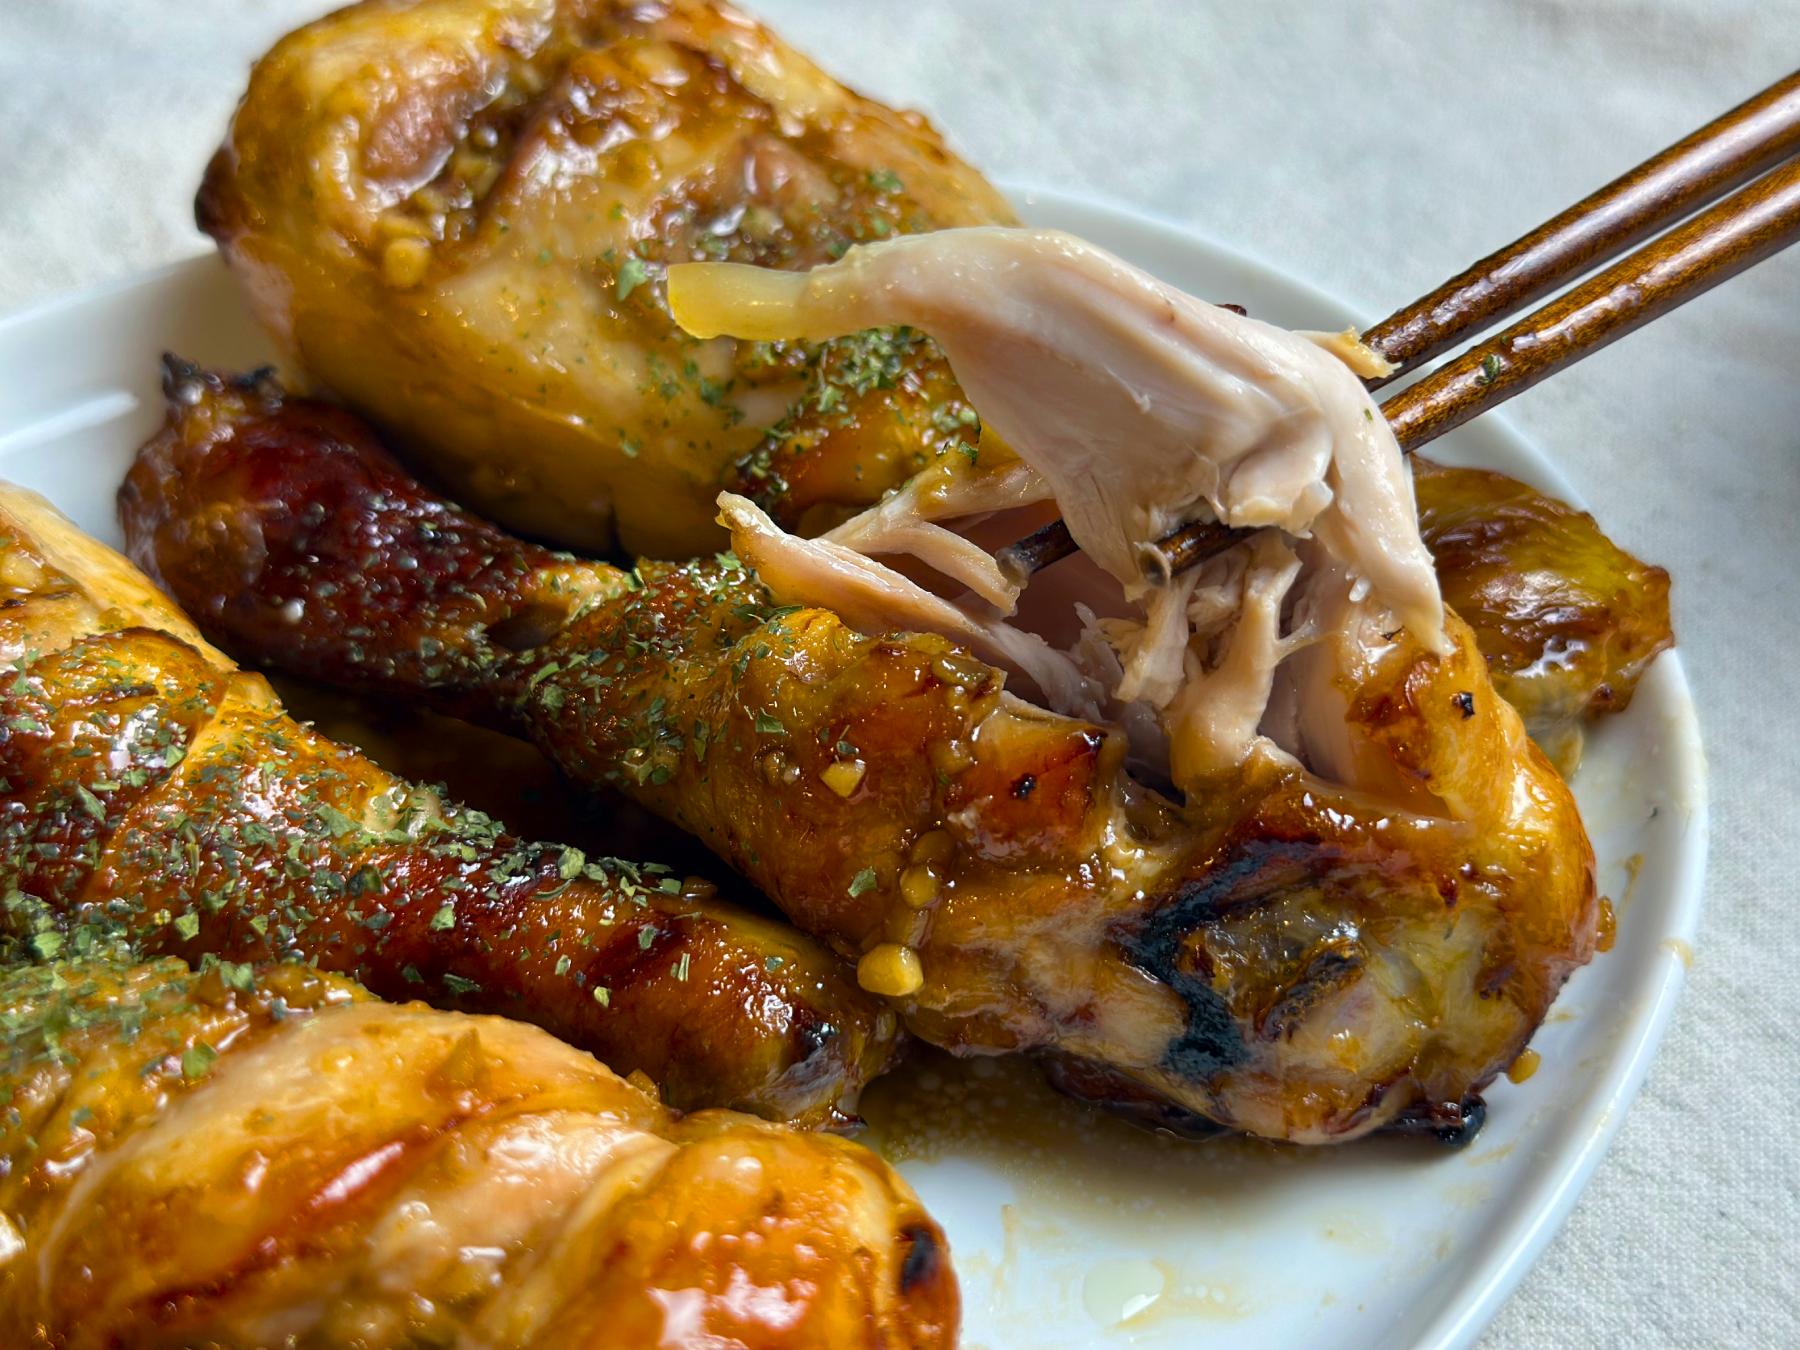
There’s something undeniably addictive about soy garlic chicken. It’s that magical combination of crispy skin, juicy meat, and a sticky glaze that dances between salty and sweet. Whether you’ve had it as Korean fried chicken or in air-fried variations, this recipe brings that same bold flavor - without the mess of deep frying. I’ll show you how to make delicious soy garlic chicken at home using an air fryer. The process is simple, the ingredients are minimal, and the flavor is restaurant-quality.
Ingredients for Soy Garlic Chicken
For the Chicken:
- 4–6 chicken drumsticks or thighs (skin-on, bone-in preferred)
- 1 cup milk (for soaking)
- Salt and pepper, to season lightly before cooking, But I skipped it!
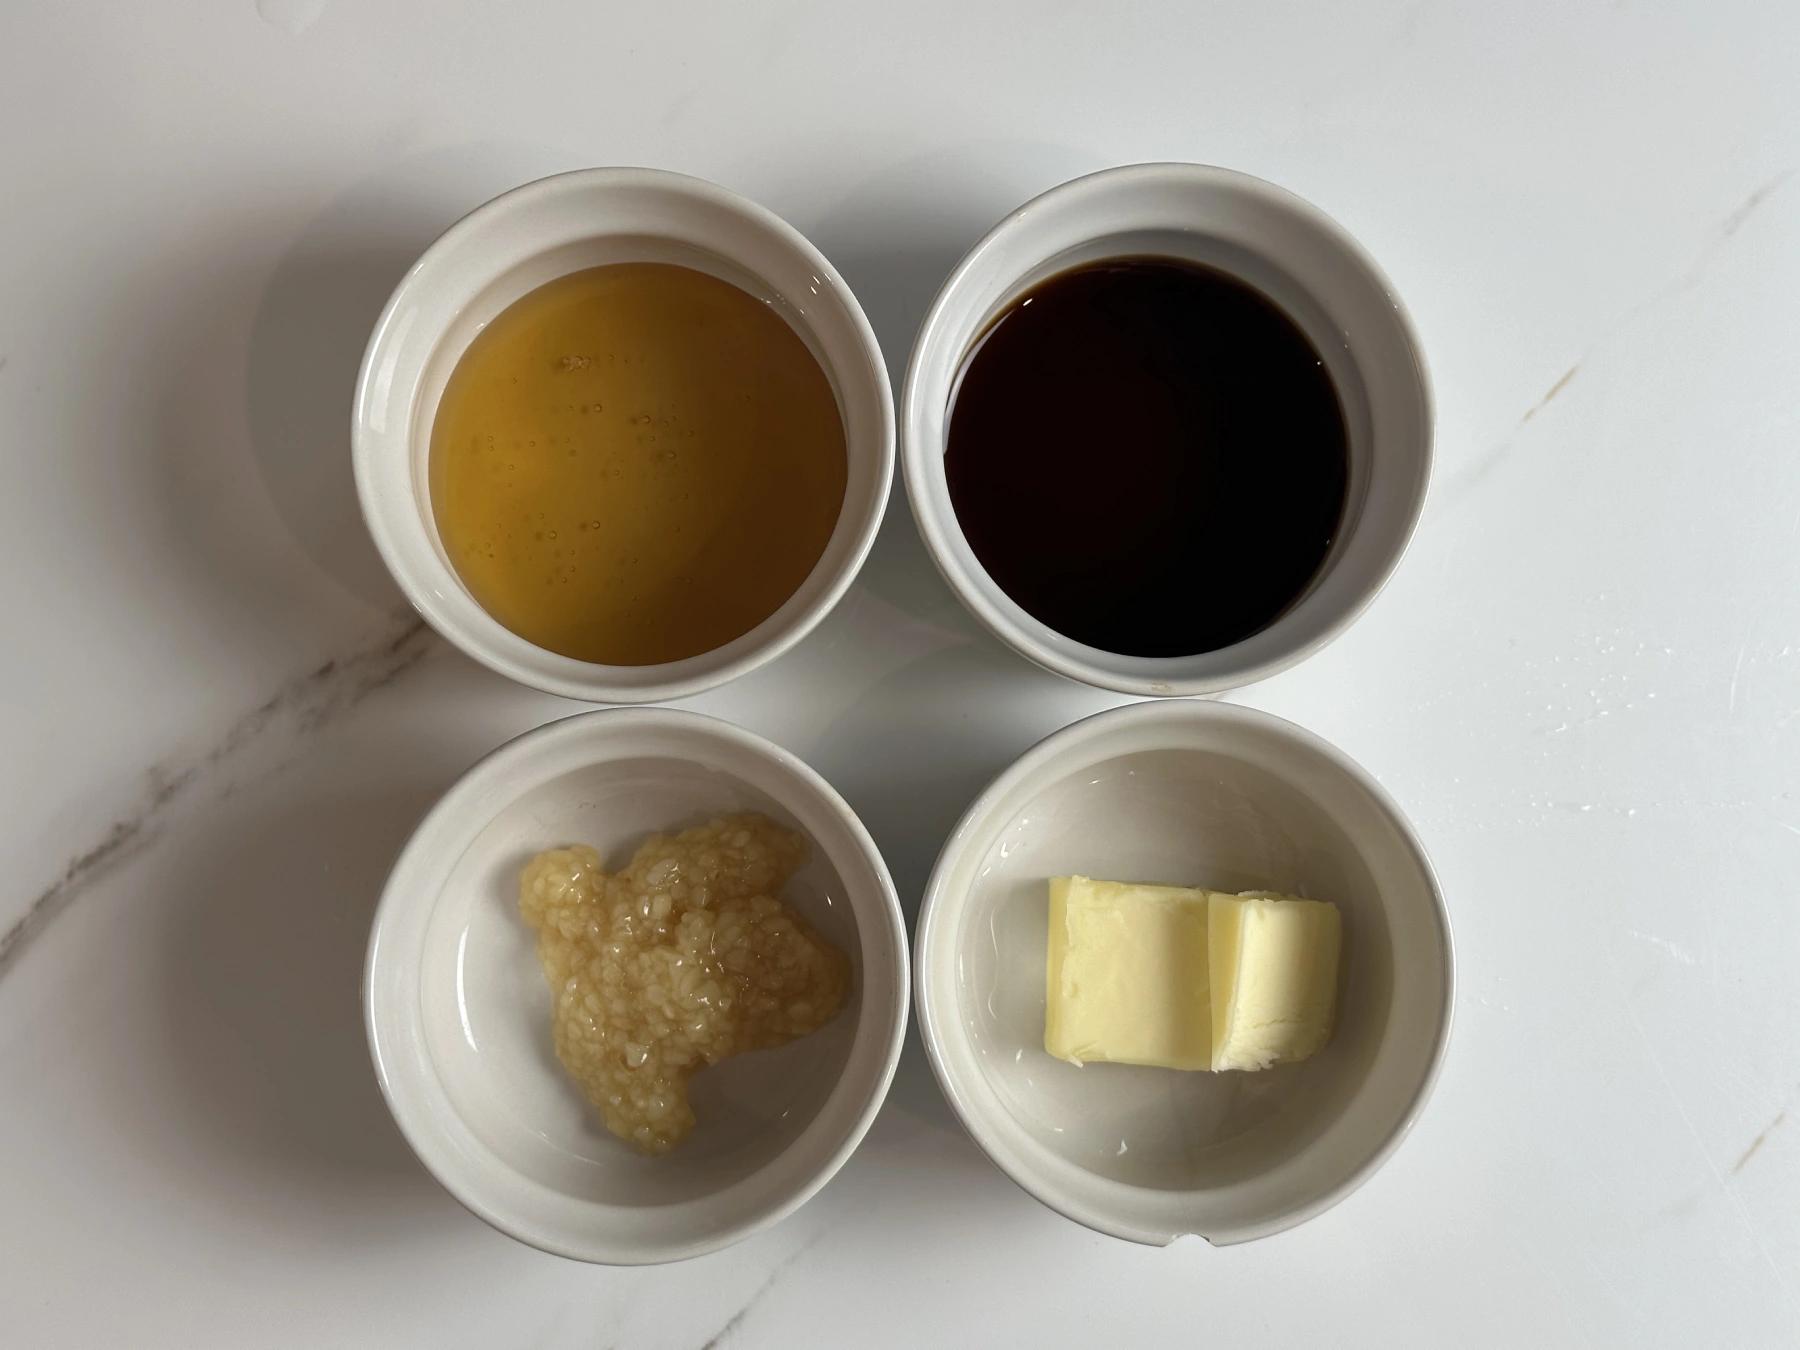
For the Soy Garlic Sauce:
- 4 tablespoons soy sauce (low sodium works best)
- 2 tablespoons honey (or brown sugar)
- 20g unsalted butter (about 1.5 tablespoons)
- 2 teaspoons minced garlic (optional but recommended)
How to Make Soy Garlic Chicken in Air Fryer
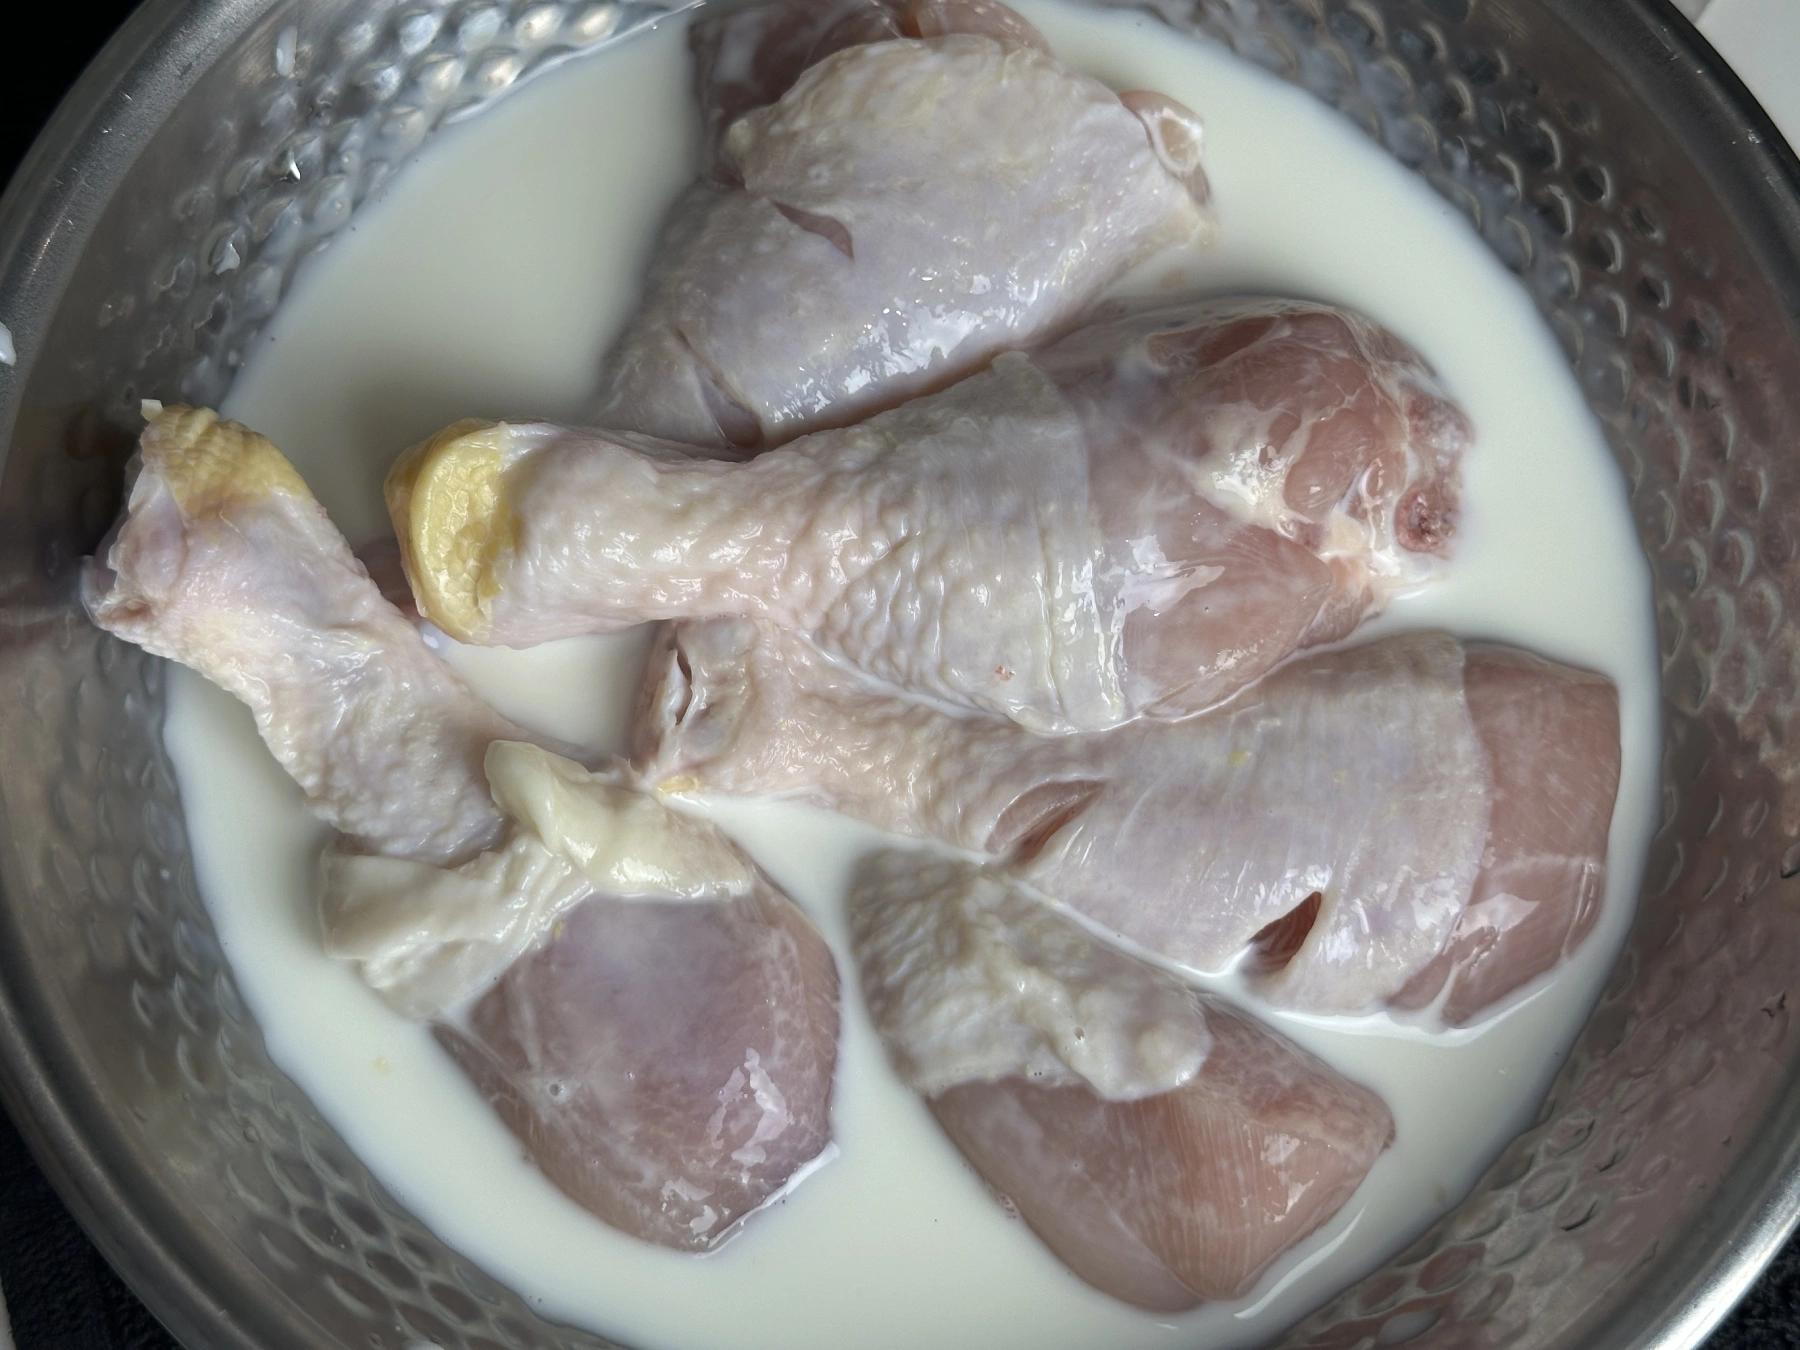
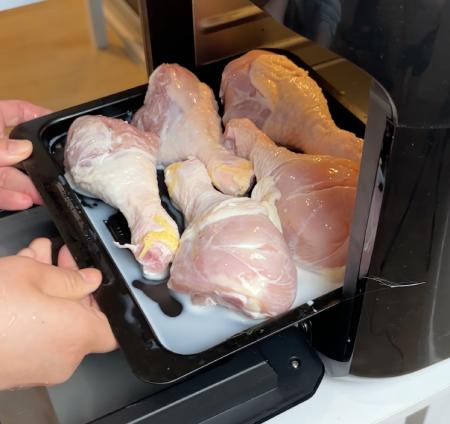
1. Soak the Chicken
Place your chicken legs in a bowl and cover them with milk. Let them soak for about 10 minutes. This helps remove any strong odors and tenderizes the meat.
Pro Tip: If you have time, let them soak for up to 30 minutes in the fridge. It makes the meat even more tender and juicy. After soaking, drain the milk and gently pat the chicken dry with paper towels.
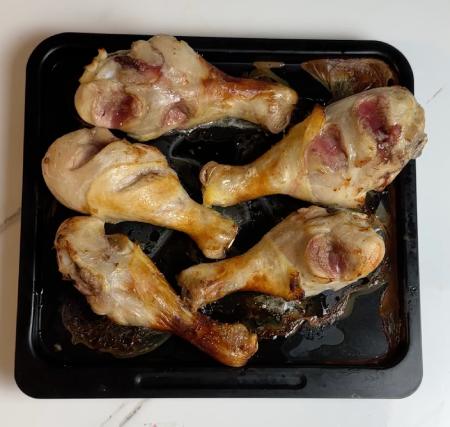
2. Air Fry the Chicken untill golden
Lightly season your chicken with salt and pepper (If you want, but I skipped it). Place the chicken legs into the air fryer basket, leaving a little space between each piece for proper air circulation.
Flip Midway: Cook the chicken for 12–15 minutes, then flip the pieces over and cook for another 10–12 minutes or until golden brown and fully cooked
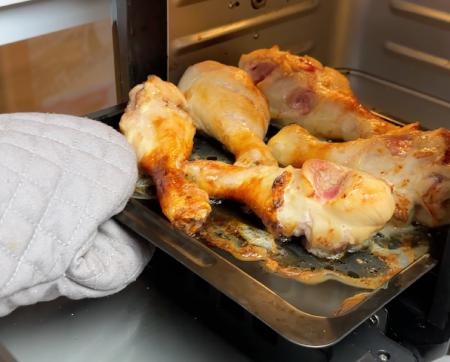
💡 Note: Cooking times can vary depending on the size of your chicken and the air fryer model. Always check for doneness. I Bake at 350°F/176°C for 15 minutes, then flip over and bake for 10 minutes.
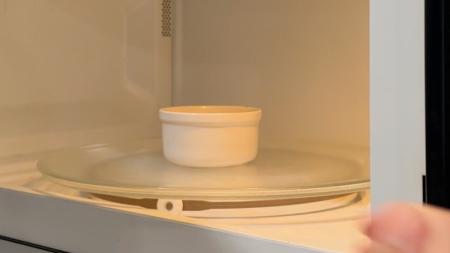
3. Make the Soy Garlic Sauce
While the chicken is cooking, it’s time to prepare the sauce. In a small saucepan over low heat, melt the butter -I used microwave. Once melted, add the soy sauce, honey, and minced garlic (if using). Stir continuously until the mixture begins to bubble slightly and thicken - this takes about 2–3 minutes.
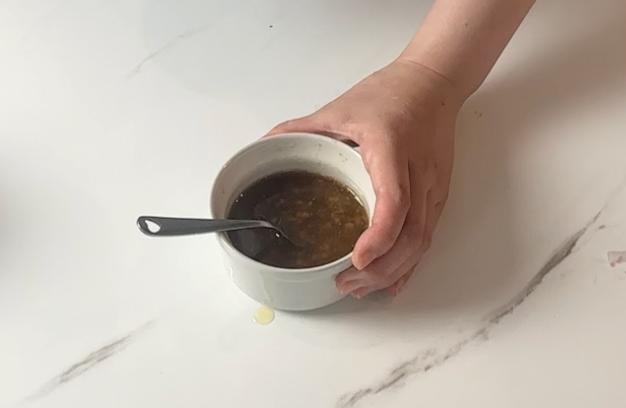
Sauce Tip: If you want a thicker glaze, let it simmer a bit longer, or add a small cornstarch slurry (1 tsp cornstarch + 1 tsp water) for more stickiness. Set the sauce aside but keep it warm.
4. Glaze the Chicken
Once the chicken is golden, crispy, and cooked through, remove it from the air fryer and place it on a plate or wire rack. Using a pastry brush or spoon, coat each piece generously with the soy garlic sauce. Make sure every bite will be packed with flavor.
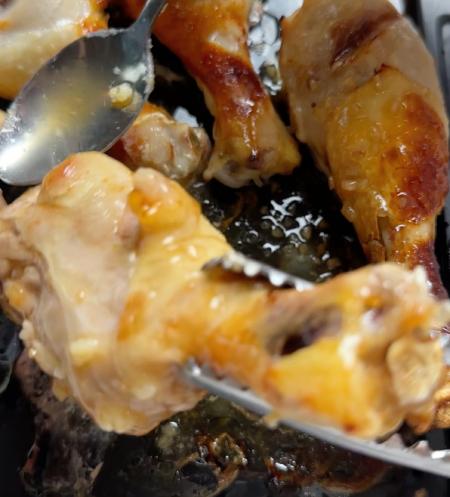
✨ Double-Coating Option: For maximum flavor, let the chicken rest for a few minutes after glazing, then give it another brush of sauce.
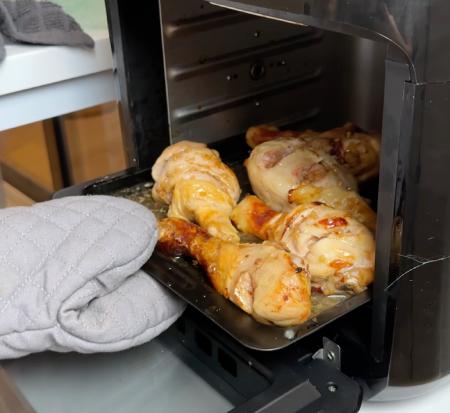
5. Bake One More Time
Return the glazed chicken to the air fryer for a final 3–5 minute blast at 350°F (175°C). This helps the sauce caramelize slightly and adhere to the skin, giving it that irresistible sticky finish. Remove and let cool for a few minutes before serving.
Serving Ideas for Soy Garlic Chicken
This soy garlic chicken is delicious on its own, but you can elevate your meal with some tasty sides:
- Steamed white rice or sticky rice
- Kimchi or pickled radish for a tangy contrast
- Steamed broccoli, bok choy, or roasted vegetables
- A simple salad with sesame dressing Pair it with a cold drink - sparkling water, lemonade, or even Korean beer if you’re feeling festive.
Why You’ll Love This Air Fried Soy Garlic Chicken
- Healthier than deep-fried: The air fryer gets the skin crispy without the oil.
- Bold flavor: Sweet, savory, buttery, garlicky goodness in every bite.
- Minimal ingredients: You probably have most of these at home already.
- Fast & easy: Done in about 30 minutes, with very little cleanup.
Tips, Variations, and Flavor Boosts
Make It Spicy
Add 1 tsp gochujang or a few dashes of Korean red chili flakes to the sauce for a spicy kick.
Use Chicken Wings
Substitute drumsticks for chicken wings, and follow the same steps. Great for game night or gatherings.
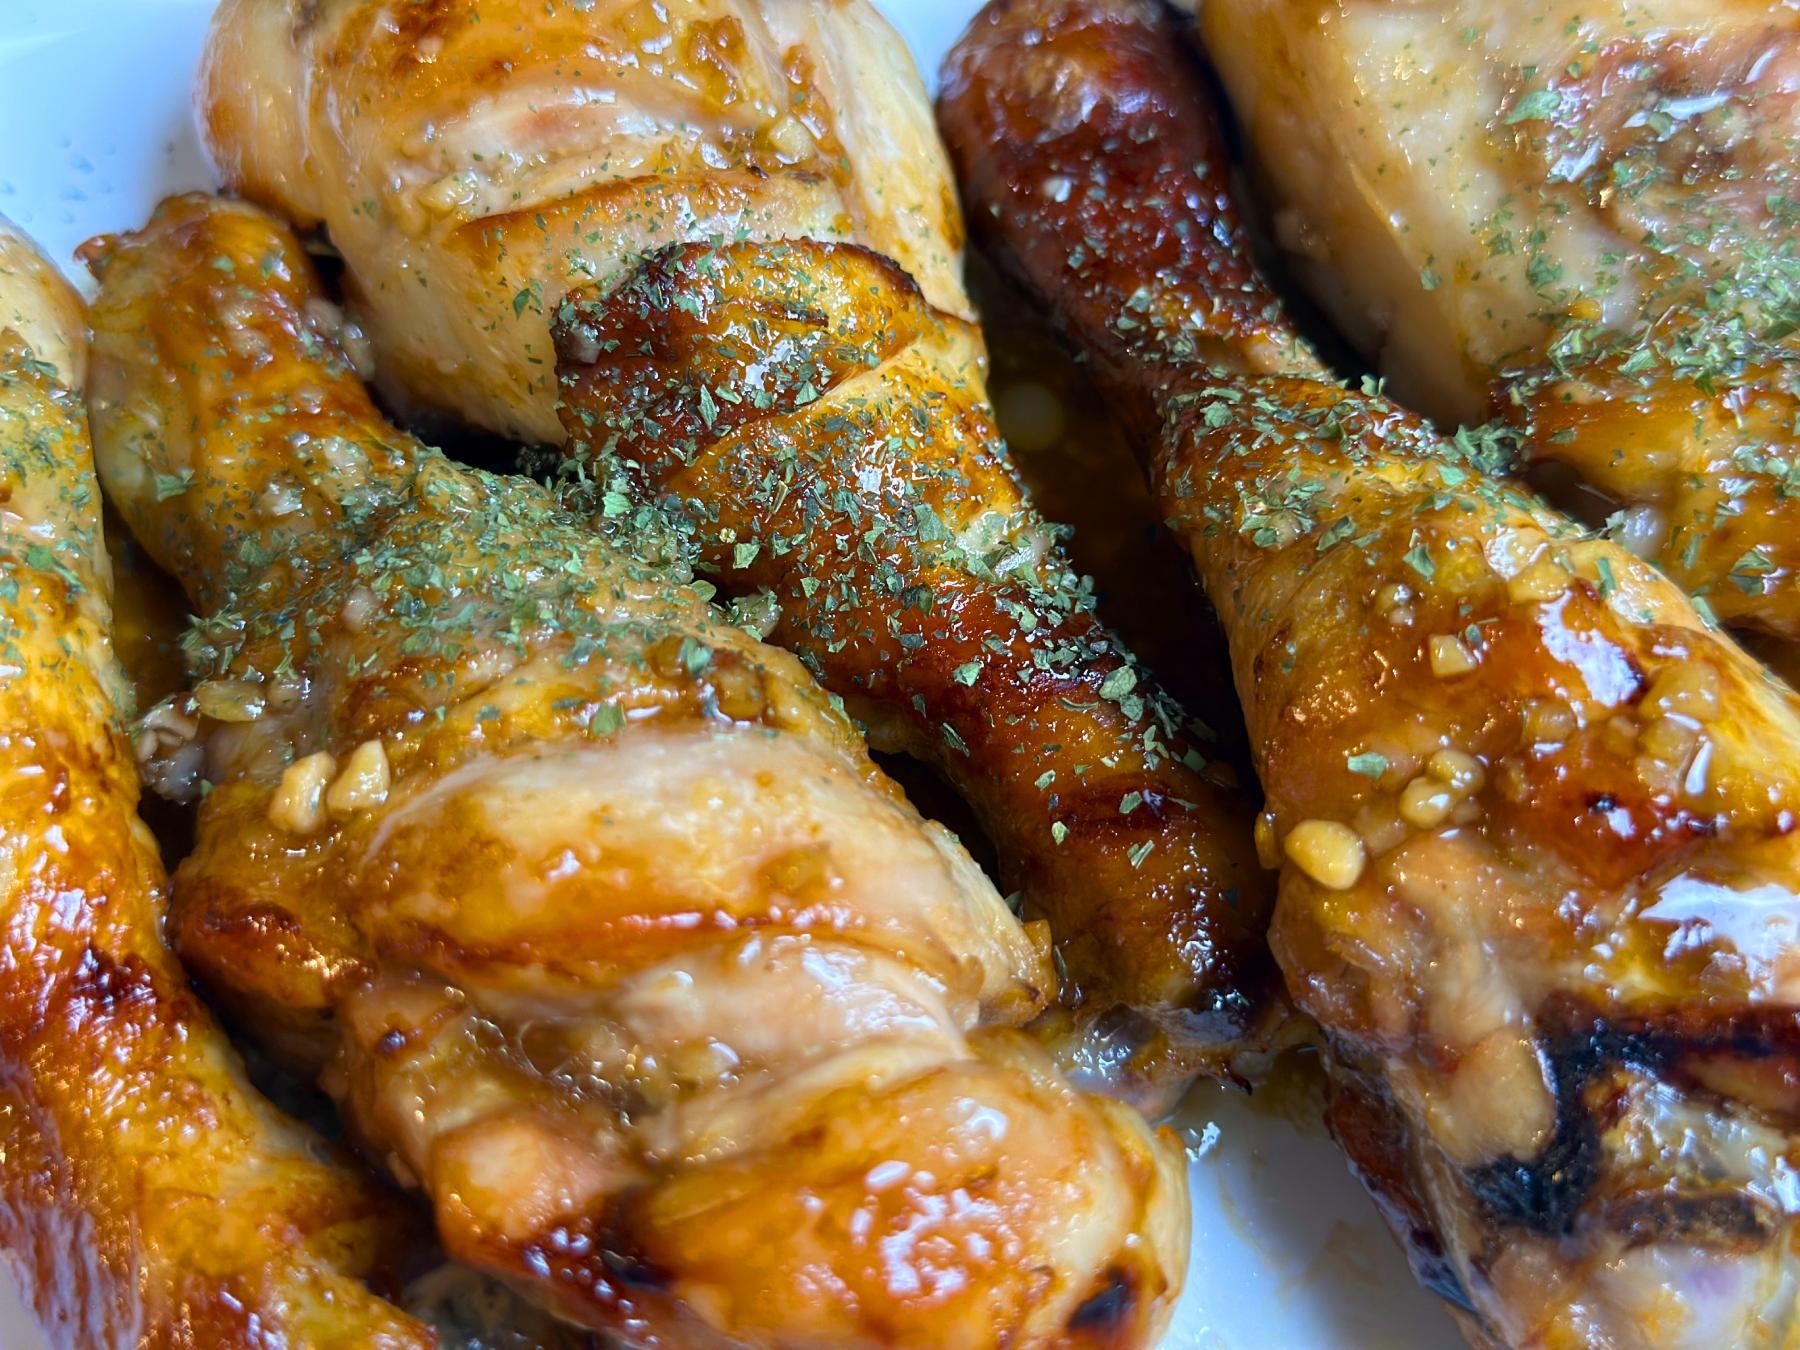
Add Toasted Sesame or Green Onion
Top with toasted sesame seeds or chopped green onions for extra flavor and visual appeal.
Storage & Reheating Instructions
Got leftovers? Lucky you.
- Store in an airtight container in the fridge for up to 3 days.
- Reheat in the air fryer at 350°F for 5–7 minutes or until warmed through and crisp again.
- Avoid microwaving if you want to keep the skin crispy. You can also prepare the sauce ahead of time and keep it in the fridge for up to a week.
Final Thoughts on This Air Fryer Soy Garlic Chicken
This soy garlic chicken recipe is a perfect example of how a few simple ingredients can transform into something extraordinary. Whether you’re cooking for family, friends, or just yourself, it’s satisfying, easy, and packed with umami. Give it a try and let me know how it goes. You can customize the sauce, play with spices, or even turn it into a rice bowl or sandwich filling. The possibilities are endless!
Happy cooking, and enjoy every sticky, crispy, savory bite! 🍗🧄🍯
Leave a comment
Comments
No comments yet.